Thursday, August 20, 2009
the evolution of thinkpad keyboard
Thursday, August 13, 2009
How to remove keyboard from Sony Vaio VGN-FE series laptop
http://www.insidemylaptop.com/how-to-remove-memory-hard-drive-optical-drive-and-keyboard-from-sony-vaio-vgn-fe-series-laptop/
STEP 5.
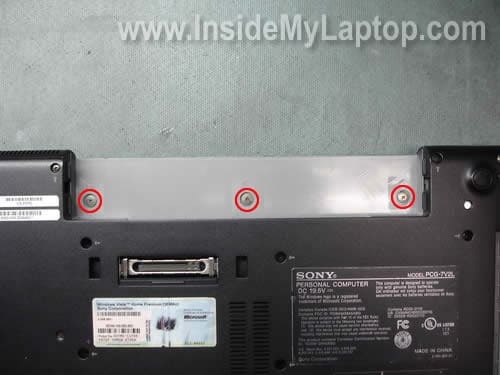
Remove three screws located in the battery compartment. These screws are securing the speakers cover.
Start removing the speakers cover with your fingers.
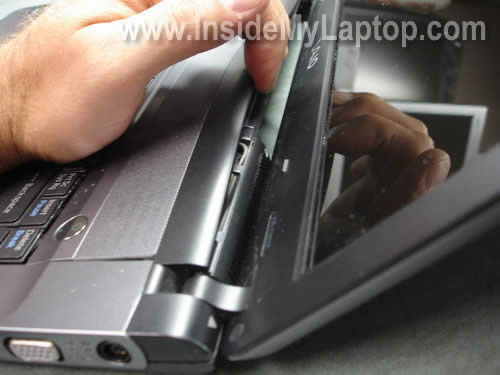
Carefully release and lift up the right side of the cover.
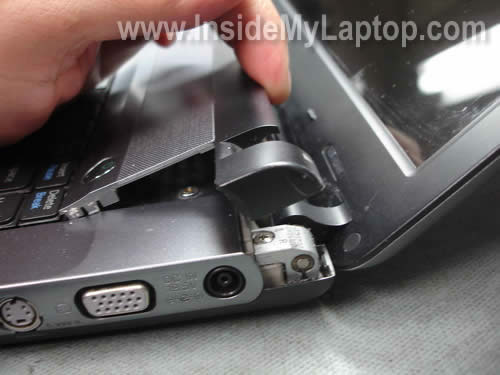
Continue removing the cover with your fingers. It might take some time. It’s harder than looks on the pictures.
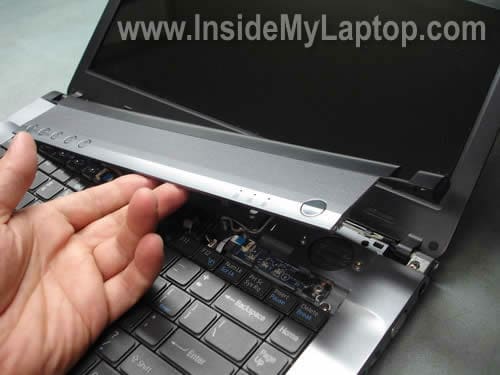
The speaker cover has been removed.
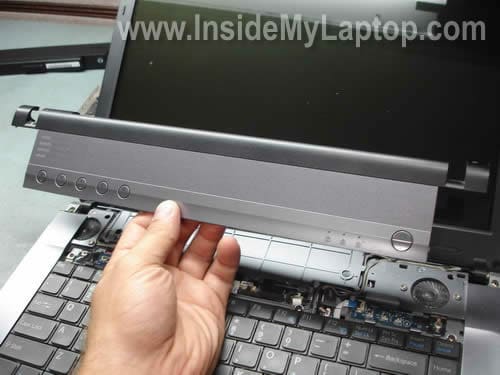
STEP 6.
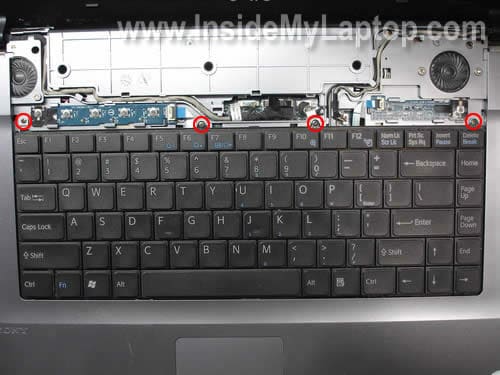
Remove four screws securing the keyboard.
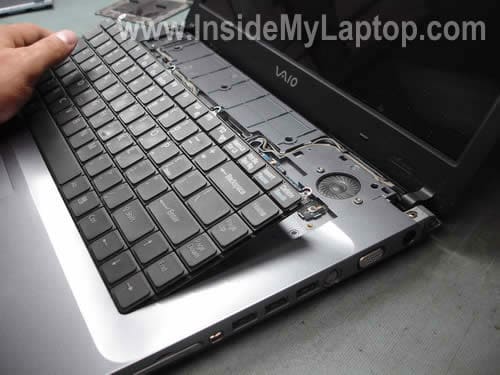
Lift up the keyboard and place it upside down on the palm rest.
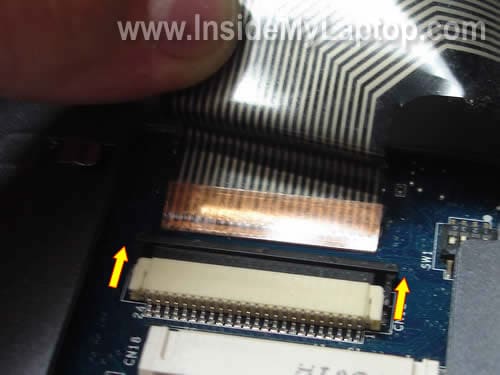
Now you can access the keyboard cable connector. The keyboard is connected to the motherboard.
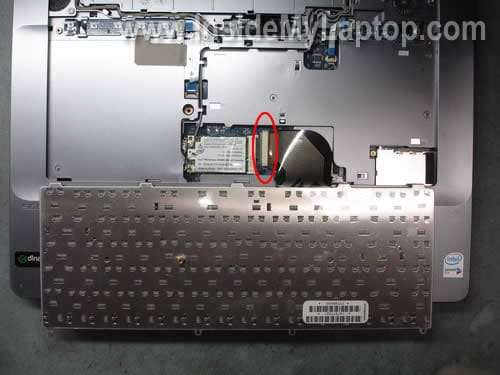
Before you can remove the keyboard, you’ll have to unlock the connector and release the keyboard cable.
In order to unlock the connector, move the black clip about 2 millimeters to the direction shown by two arrows. The click must stay attached to the white base. Now you can release the keyboard cable.
WARNING! If you break the connector, you’ll have to replace the whole motherboard OR use the laptop with an external keyboard.
Remove the keyboard and replace it with a new one if needed.
Need a keyboard replacement? You can buy a brand new Sony Vaio VGN FE keyboard here.
